Sunday, February 1, 2015

Detoxifying Mouthwatering Cabbage Soup

Cabbage has some pretty awesome health benefits.  For one, it is loaded with Vitamin C (an immuno-booster that is great this time of year) and Vitamin K ( a bone building nutrient that is also essential for healthy teeth).
In addition, Cabbage has also been found to have 3 major properties:
1.  Anti-Inflammatory
2. Cancer Protection
3. Digestive Support
Yep, cabbage is great; whether it be green or red, it has so many health benefits you would be silly to not eat it.
This soup hits the mark as far as nutrient dense and flavor abundant.  I can tell you my kids LOVE this soup.  The other great thing about this soup is- it is a ONE POT WONDER.  Yep, everything goes in to one pot and you are done. 

Hearty Cabbage Soup
1 head of cabbage (green or red), chopped
2 medium yellow onions, diced
5-6 large carrots, diced
4 garlic cloves
1 cube of vegetable bouillion.  ( I use Rapunzels Organic with sea Salt)
1 can of tomato paste
1-1/2 cups of green lentils
1-1.5 lbs of organic stewing beef, grilled to medium rare and diced (optional)
Olive oil
Sea salt
Fresh ground pepper


Cook onions, carrots and chopped cabbage in large soup pot with olive oil and sea salt.  Cook with lid on pot until carrots are softened.  Add garlic, vegetable bouillon and enough water to cover the vegetables.  Add tomato paste and allow this to simmer on low/medium heat while grilling steak or meat of choice.  Once steak  is cooked to medium rare, remove from heat and allow it to rest before cutting into bite sized pieces.  Add steak and lentils.  Adjust seasoning if needed and simmer on stove until ready to eat!


Cabbage, onions, carrots and broth.

I can add the lentils mom.

Oops I missed a few, but I will get them.

Resident Label Reader:  Mom do you know how much protein is in these lentils?

Grilled steak- Optional


Monday, January 26, 2015

Easy Homemade Granola


Granola is one of those foods that is assumed to be healthy.  However the granola of the past has transformed into today's high sugar, high calorie junk food that disguises itself as healthy by it's name .  Depending on the brand, granola falls into the same category as Vitamin Water, fat-free foods and baked chips.  Their names imply healthy, but they are anything but.    
 

Cascadian Farms granola is one of the better cereal options. Their cereals do not contain high fructose corn syrup or trans fats.  They are organic which means no GMOs, no use of toxic pesticides and artificial ingredients. However, some Cascadian Farms granola is higher in sugar than I like.  For the little effort that goes into making your own Granola, why not give it a try?  The cost and effort is minimal, you can control the amount and type of sugar and the flavor options are endless.


Here is my recipe for Maple Cinnamon Pecan Granola
Other flavors you can try: 
* Cranberry Chocolate
* Cinnamon Raisin
* Harvest Pumpkin Seed ( fall spices like cinnamon, clove, ginger and pumpkin seeds)
* use honey in place of maple syrup


16.5 cups of Old Fashioned Oats ( I used Publix Greenwise Organic Oats which equalled about 2 1/2 containers)
1 teaspoon sea salt
2 teaspoons organic cinnamon
1/2 teaspoon fresh grated nutmeg
1/2 cup coconut oil, melted
1/4 cup maple syrup
1 teaspoon vanilla
1/4 cup organic cane sugar 
1 cup chopped pecans

Line two large baking sheets with parchment paper.  In a large mixing bowl, combine the oats, salt, nutmeg and cinnamon.  In a glass measuring cup mix coconut oil, maple syrup, vanilla and sugar.  Stir until well combined.  Pour mixture over the oats.  With gloved hands, toss until oil mixture is well coated over all the oats.  Place in the oven at 300 degrees for 15 minutes.  Stir, then bake for another 10-15 minutes.  Remove from oven and place on a cooling rack.  It will harden as it cools.  Evenly toss the pecans in the granola.  Once completely cooled.  Place in an airtight container for storage.  Will keep for months. But it won't last that long. 

Mix oats and spices

Measure coconut oil, maple syrup and sugar
My helper's mouth is watering.
Mixing ingredients together
Remove from oven and cool

Toss in pecans or nut of choice
Use parchment to help you pour into storage container


Mikey likes it!


Thursday, January 22, 2015

Cookie Revolution Crumbled

It has been awhile. My apologies.  I thought I would up-date you on the results of the Baking Committee.  My first week baking didn't go off with a bang.  My cookies came out delicious but unfortunately they were competing against GIANT sized store bought cookies with lots of bright colored candies in them.  The bake sale happens during lunch and the kids are allowed to go to the bake sale cart and choose their item.  I had Archer scout out how many kids chose Mommy's cookie.  His reply:  " No one at my table had your cookie, Mom."  (he sighed)  "They chose the one's with the yucky M & N's".  "Does that mean we get to keep the rest?"  Oh how he knows how to mend a broken heart. 
Week 2, I pulled out a recipe for a double chocolate muffins, made with organic cocoa, coconut oil and mini chocolate chips. They are moist, the right amount of sweet and very chocolate-y!


I thought this might attract a few more kids but that week a fellow committee member provided her baked goods courtesy of Publix bakery.  They were purple and orange colored cupcakes.  My expensive organic goods were dead in the water.  I was starting to feel like this was a waste of time, money and effort.  The worst part was, imagining all those organic goods being tossed in the trash!  

Well by week 3 something happened. I am not sure if someone who was not in grade school tried my treats or perhaps other parents were voicing concerns over their child having a healthier option at the bake sale but a survey went out.  They asked committee members how the bake sale could be changed to provide healthy options, that were more reasonably sized for kids.  (!!!)  My hope was restored!  I spent some time carefully drafting my reply.  I including my thoughts about providing actually home-baked goods. As this would reduce the amount of chemicals and sugars our kids would be getting.  Baking from home also naturally provides a more modest sized treat vs. one's provided by the store. I also added that since homemade goods cost more in time and money, that perhaps they could reward home-bakers with more volunteer hours. (Perhaps this may entice some to dust off their aprons?) 
A few changes were made.  The following week we were asked to provide only homemade goods!  Well I guess this blew some flour in the wrong direction because all those Publix BOGO buyers were in up-roar.  I guess members of the baking committee didn't like being asked to bake. I get it.  Baking takes time and if you are a working parent then time is precious.  Sometimes you have to pick and choose where your time will go.
So a compromise was made.  The non-bakers were allowed to provide their packaged goods but portion control was asked to be kept in mind.  Also more hours were allotted for those who provided home baked goods.  
After spending a decent amount of money, time and effort into providing baked goods for my son's lunch bake sales, I learned a valuable lesson.  You can't just provide kids (or adults) a healthy food (healthcare, supplement...) choices and expect them to choose it when they have not been educated about their choices.  
I take for granted that my children would choose an apple any-day over a donut. I take for granted that when we eat other places outside the home my son whispers in my ear, "is that organic?".  To some, this may sound like I am raising a brood of food snobs.  To us, it is about educating our children about the foods they put into their body and what affects it will have; not only for that day but in their future. 

After 2 months of baking for the baking committee I earned enough hours to commit to some other volunteer projects.  I did bake two homemade breads for the Pastor appreciation breakfast, in hopes that the adults may at least try that whole wheat cinnamon raisin bread before filling their plate with donut holes.  

This bread smells and tastes amazing!

Here is my recipes for one of them:  Banana Nut Bread

Made using coconut oil.
3/4 cups whole wheat flour
3/4 cups all purpose flour 
1 teaspoon baking soda
1 teaspoon ground cinnamon 
1/4 teaspoon of fresh ground nutmeg
3/4 teaspoon sea salt
3/4 organic sugar
1/4 cup whole milk plain yogurt or sour cream
2 eggs
1/2 cup coconut oil, softened or melted
3  bananas, very ripe*, mashed
1 teaspoon vanilla extract
2/3 cup walnuts/pecans, chopped 
Preheat oven to 350. Grease loaf pan with butter or line with parchment paper.  (sorry coconut oil won't work) Place flour, spices, salt and baking soda together in a large mixing bowl and toss with a whisk until well mixed. In another mixing bowl, beat the coconut oil, bananas, yogurt, sugar, eggs and vanilla on medium speed, until soft;  about 3 minutes. Add dry ingredients to wet and mix until all is combined.  Toss in chopped nuts and fold in with spatula until well dispersed.  Pour into prepared loaf pan.  Bake for 45 min-1 hour.  Begin checking at around 35 min as some batches will bake quicker than others based on the sugar content of the bananas.  
To check for done-ness, a toothpick should be inserted in middle of the loaf and it will come out clean without batter.  Cool slightly then overturn onto cooling rack. Slice when cooled and enjoy.  Freezes and defrosts very well.
*  The perfect bananas for this loaf are ones that have reached maximum ripeness and then placed in the freezer.  Defrost before using, by placing them on a plate on the kitchen counter overnight.  Once soggy, store in fridge for up to 1 day until ready to use.
Melting Hardened coconut oil
If your coconut oil is in a solid state that means it is being stored at a temperature below 76 degrees.  No worries.  Measure out what you need and place in a glass measuring cup.  If your oven has a "KEEP WARM" setting, turn that on. If not turn the oven on for a few minutes at the lowest temperature, then shut off the oven. Place glass measuring cup with solid coconut oil in the heated oven for around 5-10min to soften.  This will allow the oil to incorporate better into the other ingredients. 
DO NOT PLACE COCONUT OIL IN MICROWAVE.  AS THIS WILL DESTROY THE NUTRIENTS IN THE OIL

Banana bread with coconut oil


Tuesday, September 9, 2014

Challenging the Status Quo with Cookies


Our 5 year old son started Kindergarten this August!  I can't believe it really.  Not only are we trying to establish some new routines around our house but we are also getting to know his new school.  As parents we are required to do 50 volunteer hours during the school year.  They have lots of ways in which you can fulfill these hours.  One of the committees I volunteered for was the Baking Committee.  Go figure.  
I was contacted by a very nice lady who was heading up the committee who is in charge of organizing the bakers.  We primarily bake for the school bake sale that happens at lunch on Mondays and Wednesday.  Kids are allowed to purchased baked goods. (1 per child for the smaller kids and 2 for the bigger kids).  The price for each item is 25 cents.  I am assuming this is more about responsibility and the use of money than a big profit maker.  We also bake for other events like Grandparents Day, Teacher Appreciation Day, the Thanksgiving feast- that sort of thing.  I was told we had to provide 3 dozen of any baked good (cookies, brownies, cup cakes) or 6 dozen if they were minis-like cupcakes.  I was also told that Sister Regina (the principal) wanted to make sure we had some healthy options each week at the bake sale.  She then told me raisins and fruit slices tend not to go over so well and they usually get tossed.  Then she continued with some helpful advice.  "Your best option is to stock up on Publix cookies when they have their buy one get one free sale."  HUN?!  I thought to myself this IS the baking committee right?
So before I fully commit to the non-baking, baking committee I thought I would ask some questions.  I asked if it was okay that I did indeed bake.  I did get a yes but a surprised yes none-the-less.  I will assume it was a pleasantly surprised yes.  Then I asked if we had to leave out nuts or follow any allergy restrictions.  She responded with a "no". Okay I thought, we are getting somewhere. I let her know we only used organic ingredients at our house so I would be providing organic baked goods.  There was a very long pause over the phone.  "Does your child have Crohn's Disease?  Because we have another family with a child with Crohn's disease and their family avoids all gluten.  They even make their own condiments." It was everything I could do to contain my laughter. Not to make light of this serious immune disease  but since when did eating healthy become synonymous with having a food allergy? 
I had her attention, so I proceeded to let her know about our families choice to limit the amount of chemicals we eat as it is important to not only to our health but the health of the environment as well. She was curious and inquired about the cost and where we get our organic food from.  She shared with me that she use to bake her own bread and got away from that as her kids got older but wished she still did.  She also stated that she too had purchased some organic produce from Publix and found it to be much better tasting.    We finished our pleasant conversation talking about our kids and the highlights of the school. After our phone call I came to the realization that there are likely more children than I previously thought that don't get much homemade of anything.   So my goal this year is to Challenge the Status Quo.  I will start with the baking committee.  Perhaps my organic cookies will be a big hit and parents and teachers will realize you can provide a child a special treat that does not include a bunch of words you can't pronounce.  And maybe, just maybe the healthy option won't be tossed in the trash.
Oatmeal Gorp Cookies

So today's recipe is for a very tasty, good for you, organic (if you choose),  HOMEMADE cookie.  These are the first cookies I have made for week 1 of the bake sale.  They are one of our families favorites and I hope they will also be yours.  

Oatmeal Gorp* Cookies
* Gorp is an outdoors term for high energy snack

Ingredients:
1 cup of coconut oil (you can use 1 1/4 cup of butter instead)
3/4 cup of cane sugar
2 medium very ripe bananas ( previously frozen ones work best)
1 egg
1 teaspoon vanilla
3 cups oatmeal 
1 cup of whole wheat flour
1/2 cup of all purpose flour (as you get more brave you can use all whole wheat)
1 teaspoon baking soda
1/4 teaspoon sea salt
1 teaspoon cinnamon
1/4 teaspoon fresh ground nutmeg
Your choice of 2 of the following:
1 cup of chocolate chips
1 cup of raisins
1 cup of chopped nuts ( pecans or walnuts work best)

Preheat oven to 350.  Combine oil, sugar, banana, egg and vanilla in a large bowl. Beat at medium speed until blended.  In a separate bowl combine all dry ingredients.  ( flour, salt, baking soda, spices)  Toss until mixed.  Add the dry ingredients to the wet while blending with a mixer.  Add in your choice of chocolate, raisins or nuts.  Mix well.  Drop 1-1/2 inch rounds onto parchment lined baking sheet and bake for 12 minutes or until slightly golden on top.  These are best removed from the oven when slightly soft  in the middle.  Cool complete and store in an air tight container. 
This recipe makes around 2-3 dozen depending on your size but I always double the batch. 
I store mine in the freezer.  This helps control the cookie monsters in my house.  :)
Ready for the oven


You gotta love it when you have the perfect amount of dough for the final cookie.

Cookies for the Bake Sale

If Archer had a good day at school, then this will be his afternoon snack.

Monday, July 14, 2014

Beet Chips and Kale Chips

So I have been hearing all about kale chips lately.  And to be honest with you, I really didn't see the appeal.  I mean kale by itself it pretty good.  When it's in my fridge I will add it to other salad greens or chiffonade it into soups. 
Kale and collard greens are a lot alike, except kale recently had a rise in popularity.  It's like coolness can be measured in the amount of kale smoothies you drink.  Personally I think collards have more more going for them. They may be considered low country but collards are more flavorful than kale, they are less tough and cook up better.  But to be fair I had to give the kale chip a try before passing judgement.  

I started with a bag of organic kale.  Organic is a must.  Even though greens don't top the list of the Environmental Working Groups Dirty Dozen.  They have been categorized with a special consideration because of their unusually high amounts of pesticides. Be sure to check this out before purchasing your next bag of greens.  
Instead of olive oil I used coconut oil for the kale chips.  I emptied half the bag of kale into a large bowl and tossed with coconut oil and Himalayan sea salt until the leafs were well coated but not soggy.  I repeated with the second half of the bag.  I then spread the kale out on a cookie sheet lined with parchment paper and placed them in an oven preheated to 350.  I baked them for about 20 min. I poked my head in the oven every so often to move the kale around to make sure it was baking evenly. Halfway through the baking I rotated the pans around. I was surprised to see how well they crisped up.  
Then there was the taste test.  Not bad.  But I am not sure they are worth the effort.  I will tell you the crumbs from the broken leaves made an awesome topping for soup.  
Kale chip with Himalayan sea salt
Kale Chips
Now don't be discouraged because the next "chip" I tried was BEET CHIPS.  Trust me.  They were worth all the time and effort you will put into them.  Which really is no longer than 10min of prep time and about 25min of baking.  
Red beets
I peeled the beets with a potato peeler.  Wear gloves because these red bad boys will stain your hands.  Then with a mandolin or food processor, slice the root thinly.  The thinner they are, the quicker they will cook.  I like mine at about 2 mm thin.( my roots are very metric~pun intended) Toss in a bowl with an oil of your choice.  I used coconut oil.  Season as you desire.  I like sea salt but have also tried a mix of sea salt, cumin, garlic powder and onion powder.  I also think cinnamon may be good too.    Again spread out evenly on a cookie sheet lined with parchment.  Bake at 350 for about 25min.  Remove any chips that appear to be getting done before the others to avoid burning.  Let cool and enjoy.  
Thinly sliced beet root

Baked Beet Chips

Beet chip with sea salt
Now my resident taste tester, (Dr. Brian) claimed to not be a big fan of beets.  In the past, I have made them many ways.  I have roasted them like potatoes, shredded them into salads but he always gave them a polite tasting and that was that.  Now when he saw the chips, he gave me that same, "I'll try them but I don't like them face."  Well that face quickly disappeared after one nibble.  I had an addict on my hands.  So if you have a self proclaimed beet hater, try the beet chips and convert them for life.   

Wednesday, June 11, 2014

You CAN bake your Cake and eat it too!


Let's be clear, cake is not exactly a main staple health food, but no one ever died from having cake once in awhile. Now even if you are not a baker, good ingredients will always result in a pretty good cake, even if it does turn out to be lopsided. 

My take is, if you are going to have cake it should be
A:  Deliciously Fantastic 
B:  Have quality "healthy" ingredients. 
For the latter I mean organic butter from grass fed cows or coconut oil instead of margarine or lard.  Eggs from free roaming chickens instead of sickly commercially caged chickens. Organic unbleached flour with a mix of whole wheat. Organic cane sugar, raw honey or molasses instead of genetically modified and bleached white beet sugar or artificial sugars.   And please, no bright artificially colored icings. 
Dessert is not synonymous for junk food. 


 For a person that is not really a cake person, I’ve made a lot of cakes in my day. In fact, with the help of my husband ( he is the best sioux chef) and my wonderful mother-in-law, we made our own organic three tier, three flavor wedding cake for 200.  It is our 9th anniversary today, so I am enjoying reminiscing about that special day. 

I did not always make pretty cakes, but all of that changed the day I mastered a good icing.  I personally like an icing that is not overly rich and has just the right amount of sweetness.   The icing should compliment the cake not smother it.  I guess that’s why they say the “icing on the cake.”

Strawberry Chocolate Banana Cake
 
Chocolate Banana Cake
These two cakes are actually the same cake but different gift wrapping so to speak.  The first is Strawberry Chocolate Banana Cake. The second is Chocolate Banana cake.
Let’s start with the cake.  It is a classic banana cake for both.  Moist and rich in banana flavor. 

Here is my recipe for the cake.  It makes two round 8 or 9 inch cakes. 

Banana Cake
1 1/2 cup all purpose flour
1 cup whole wheat flour
2 1/2 teaspoons baking powder
1/2 teaspoons baking soda
1/2 teaspoon sea salt
1/2 cup coconut oil, liquid state
3/4 to 1 cup cane sugar
2 large eggs
1 1/2 teaspoon vanilla extract
1/2 cup buttermilk ( 1 teaspoon apple cider vinegar in measuring cup then fill to ½ with milk)
1 cup (about 2 bananas) very ripe, previously frozen bananas
*butter and parchment paper for pan preparation

Whisk together all dry ingredients.  Beat all wet ingredients together.  Slowly add dry to wet until combined.   


Okay, so I added wet to dry here but the results are the same.


Divide batter evenly and pour into greased and parchment lined 8 or 9 inch round cake pans.  Bake at 350 or 25-30min or until toothpick insert comes out clean without batter and just a few crumbs. 
 
Archer prepping pans.


2 perfect banana cakes


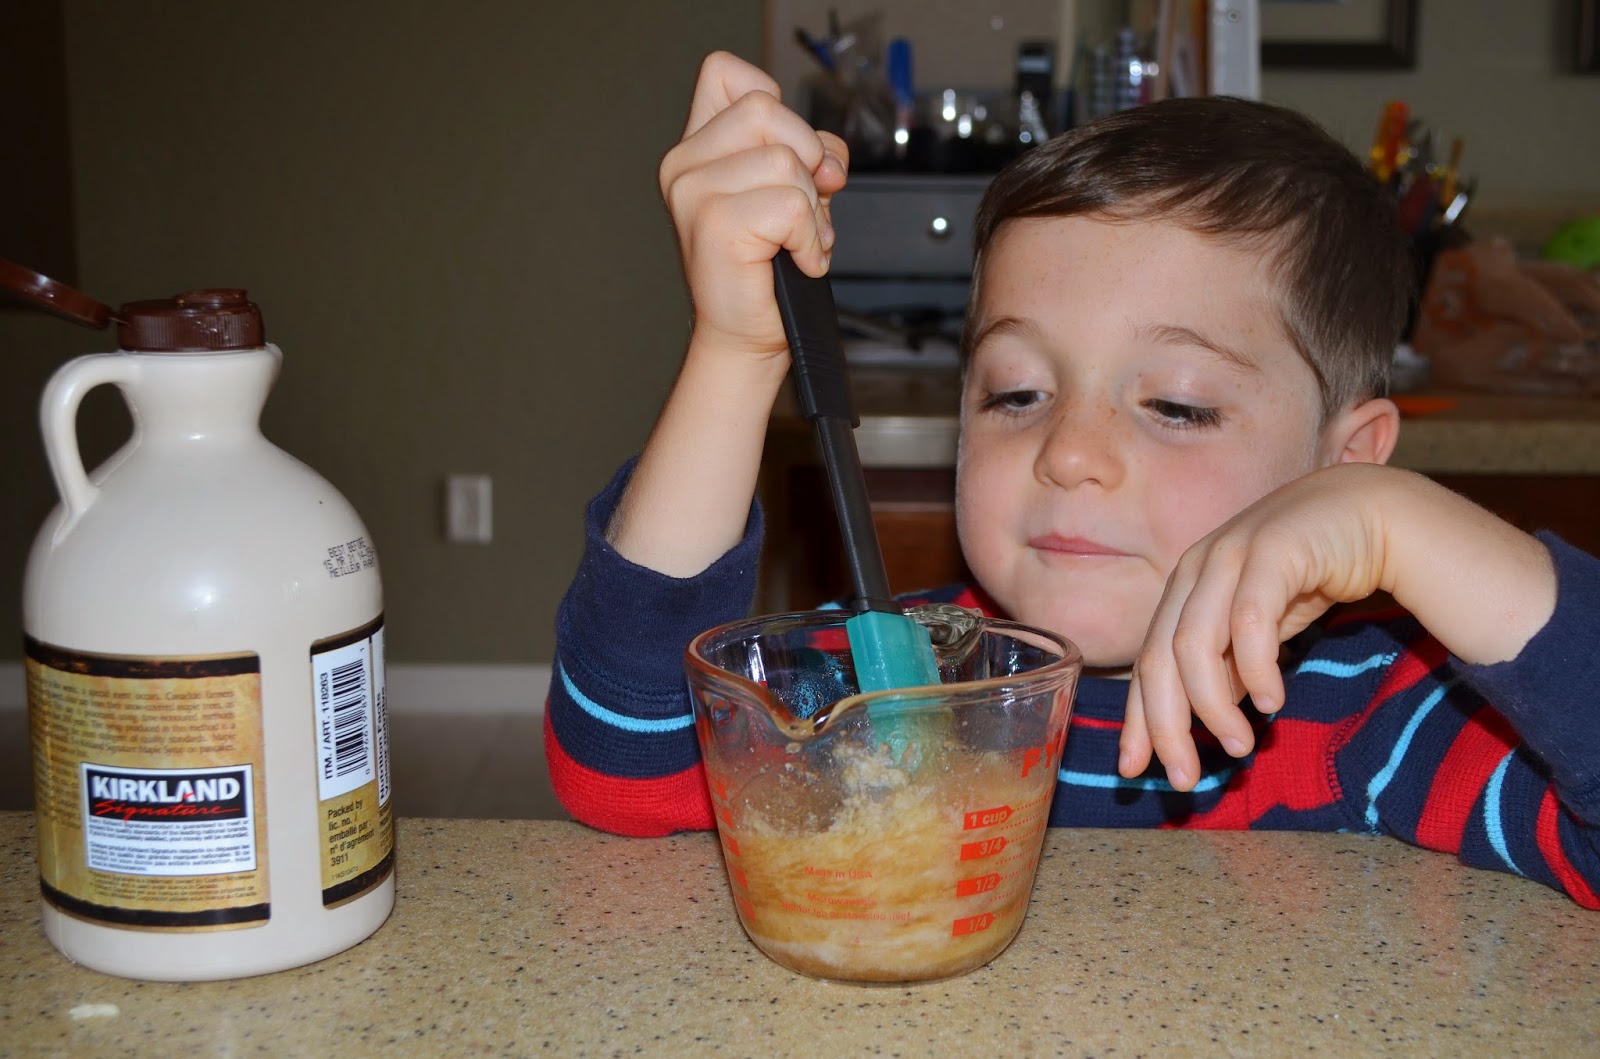
A little treat for my helper.


and a little treat for his helper.


Allow them to cool on wire racks.  Once cool enough to touch turn over on racks do so and allow to cool a while longer until no longer steaming.  Then wrap in plastic wrap, sealing tightly.  Place in freezer overnight or for later use. 

The freezer locks in the moisture, until you are ready to ice the cake.  It also makes it easier to cut the cake if dividing the layers into 4.  I do this for most cakes so you can get icing thinly between the layers instead of having one thick layer in the middle.  This makes every bite perfect. 

This cake is so simple to make. If you have a favorite banana cake recipe of you own, feel free to use it.  Just watch the sugar amount.  I usually use 1/2 the amount of sugar that is typically called for in most cakes and I especially do that for this one, as the very ripe bananas already add so much natural sweetness. 
 
Now for your icings.

The Chocolate Banana cake actually has two icings.  The filling is a banana cream type icing and the other is a chocolate ganache for outside of the cake.  Are you drooling yet? 
I know my kids are.  As soon as they hear the sound of electric beaters they come running to the kitchen.  No joke.  It is like Pavlov’s dog experiment.  

For the Banana Cream filling:
1 cup of  heavy cream, whipped
1 ripe banana, pureed
1-11/4 stick of butter, softened to room temperature
1 large banana thinly sliced

Directions:
Using an electrical mixer, whip the heavy cream until it forms whipped cream.  *careful not to over beat or you will make butter.   It should thicken to heavy cream in 3-4 minutes of beating at high speed.  Once the whipped cream is achieved, slowly add banana puree.  At some point the whip cream will separate and look like a soupy curdled mess.  Don’t panic.  Add softened butter, a tablespoon at a time while continuing to beat at high speed.  Add consecutive tablespoons once the butter is well incorporated.  At some point the whipped cream will start to come back to being thick and spreadable.  Keep adding butter until this is achieved.  You may need a little more or less depending on the size of the banana you made your puree with. 

You will notice this icing has no sugar.  Just lightly sweetened by the natural sugars of the ripe banana.  It is a perfect pairing for the chocolate outer icing. 

Archer using an emulsion blender to puree banana


Pureed Banana


Adding Banana puree


Banana Cream filling
Chocolate Ganache

 Always use good quality chocolate for the best results.  I used Ghirardelli, which is a fairly decent chocolate for it’s price. I have used Green and Black chocolate bars before with very good results as well. 

12 ounces chocolate, chopped into small pieces
1 cup heavy cream

Add chocolate and whipping cream to a small pot and place over medium heat until chocolate is melted. Stir until cream is well incorporated.  Remove from heat and allow it to cool. ( I put mine in the freezer)  As the chocolate cools it will thicken. You can use it while it is still pourable to make more like a glaze.  I did this for the top of this cake. Or you can leave it to cool longer until it is firm but you are still able to stir with some effort.  At this point, whipped it with a hand mixer to get it nice and fluffy for icing.  This allows the icing to be spreadable and allows you to pipe with it.   


Chocolate and heavy cream


Perfect Ganache

Cake Assembly:
I usually make the icings the day I will be serving the cake.  Remove the cakes from the freezer to defrost some.  I let them stay a little solid still, as this makes it easier to cut the cakes in half.  This will give you four equal layers.  Shave of rounded tops for a more level cake.  Place your first layer, bottom side down on your cake dish.  Spread the banana cream icing on top of your first layer. Then top with thin slices of fresh banana.  Use the second layer of cake to top the iced layer.  Continue this process until the last layer is added.  Be sure the cake is level. Now is your chance to make any last minute adjustments.  (Spines are not the only thing that look better straight.)
Cut cake in half


2 cakes cut into 4 layers


Leveling off the top of the rounded cake


Banana cream filling

Last layer
Now pour your ganache on top of the cake.  The ganache should be pourable but not runny or it will fall off the sides.  Use a spoon or spatula to spread it evenly across the top of the cake.  
A gift that is ready for wrapping.


Glazed ganache for the top.


Stick the rest of the ganache back into the fridge or freezer and allow it to cool until it is rigid.  Then beat it with an electric hand mixer until fluffy. 
Whipping the cooled ganache

Whipped ganache is ready for icing.

Whipped ganache icing

 Using an icing knife or a spatula, ice the sides of the cake.  Start off thin to get a base and make a second pass to add more and make it look pretty.  For an added touch, fill any remaining icing in a pastry bag fitted with your favorite decorative tip and decorate as desired. I used some simple stars to complete the edges of this cake.


This seems like a lot of steps, but none of them are complicated.  I would say this is really quite easy to do.  You can break it up and make the cake one day and the icings another.  I made this cake for my favorite soiux chef’s birthday back in March.  He loved it!  Father’s day is this weekend.  Why not give it a try? 
 
The second cake had the same base of banana cake but the icing was made with some organic strawberries I picked and froze.  The inside layers were iced with the same ganache as above.  I used the beaten, fluffed ganache, as I found this one to be the easiest to handle. 
For the exterior strawberry icing I used my favorite Swiss Meringue Buttercream (SMBC) Icing.
Light on the sweet but BIG on the creamy flavor.  No matter how I adapt it, it always gets rave reviews. 

Strawberry SMBC:
¾ cup -1 cup of sugar
1/3 liquid like water or juice from defrosted fruit
4 egg whites
¼ teaspoon of cream of tartar*
3-4 sticks of butter
¾-1.5 cup of strawberry puree
* optional. ( adds more holding power to icing)

For the strawberry flavor I use approximately 1 ½ cups of frozen strawberries.  Place them in a pot and defrost them on medium heat.  The cooked strawberries will give you the liquid you need to make the sugar portion of this icing.  The remaining strawberries will give you the flavor needed for the puree portion of the icing. 


Strawberry Liquid

Strawberry Puree
Once the strawberries are mildly cooked, add 1 c of sugar, cream of tartar and 1/3 cup of strawberry juice  to another small pot. Cook until crystals dissolve and sugar begins to boil for a few minutes.  Remove from heat and allow to cool for 1-2 minutes.  It should be cool enough to not cook the egg whites but not cool enough where it starts to form a hard candy.
While sugar is boiling, whip 4 egg whites until white and fluffy.  (it should come close to doubling in size). Slowly pour hot sugar mixture into whipped egg whites, while beating with an electric mixer on high.  The egg whites will liquefy some but continue to beat until they start to stiffen back up.  Then add butter, 1 tablespoon at a time.  DO NOT add too much at once or it will separate.  Icing will start to form a thick fluffy creamed mixture that is uniform.  Once it is at the consistency you like, you can stop adding butter.
Now is the time to add your flavor.  If you are making strawberry, like we are here, slowly add ¾-1.5 cups of pureed strawberry.  Stop adding strawberries if icing appears to loosen.
This icing is perfect for icing cakes and cupcakes because it holds up to warmer (not hot) temperatures and will hold it’s forms from decorating tips.  It also allows for a natural coloring and flavoring through the use of fruit. 
If you have left over SMBC icing, place it in an airtight container and put it in the freezer for later use.  When you are ready to use it, defrost on counter and whip up  before using.  These small leftover batches are perfect for icing just a few cupcakes when you need them in a pinch. 

The icing can get a little intimidating at first,  but once you master it, it will be your go-to icing. 
Here are a few website and will help you troubleshoot any problems along the way.  


Strawberry Chocolate Banana Cake

You may notice I do not specify organic ingredients in my recipes, however for most of my baking as in my cooking, I use as many organic ingredients as I can find.  For these cakes everything is organic except the chocolate (which can get $$$), baking powder (aluminum free) and soda.